![](https://nft-labo.tokyo/wp-content/uploads/2022/11/2022-11-22_18h14_21.png)
この記事では、BitPayのウォレット作成方法をご説明します。
お使いのスマートフォンで簡単に作成できます💡
※AndroidOSではアプリの仕様上スクリーンショットの制限がされているので、本記事の最下部にてアプリの入手画面までのご案内となりますが、登録作業はIOSと変わりがありませんのでどの端末をお使いの方でも参考に頂ける内容となっております。
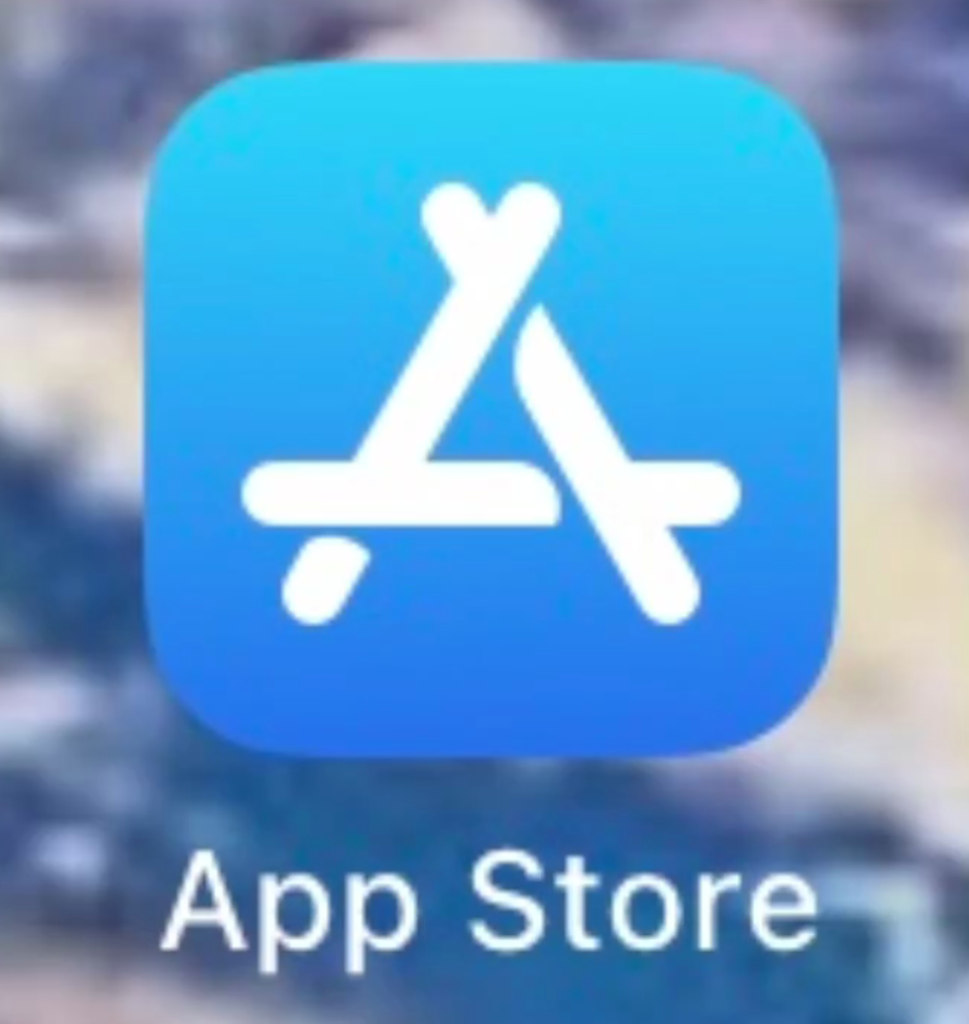
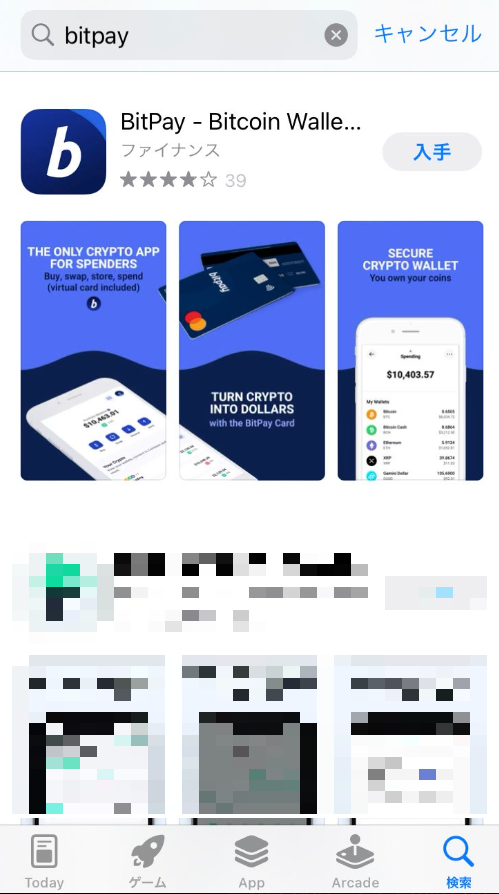
①アプリの検索
App Store( ↓ アプリ)をタップします。
![](https://nft-labo.tokyo/wp-content/uploads/2022/11/2022-11-24_10h44_17-1-969x1024.png)
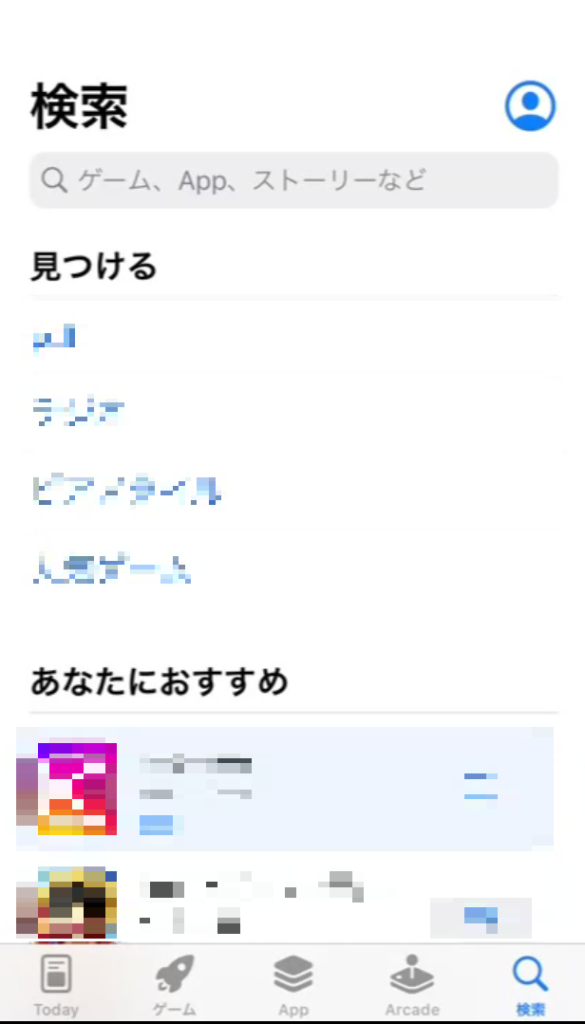
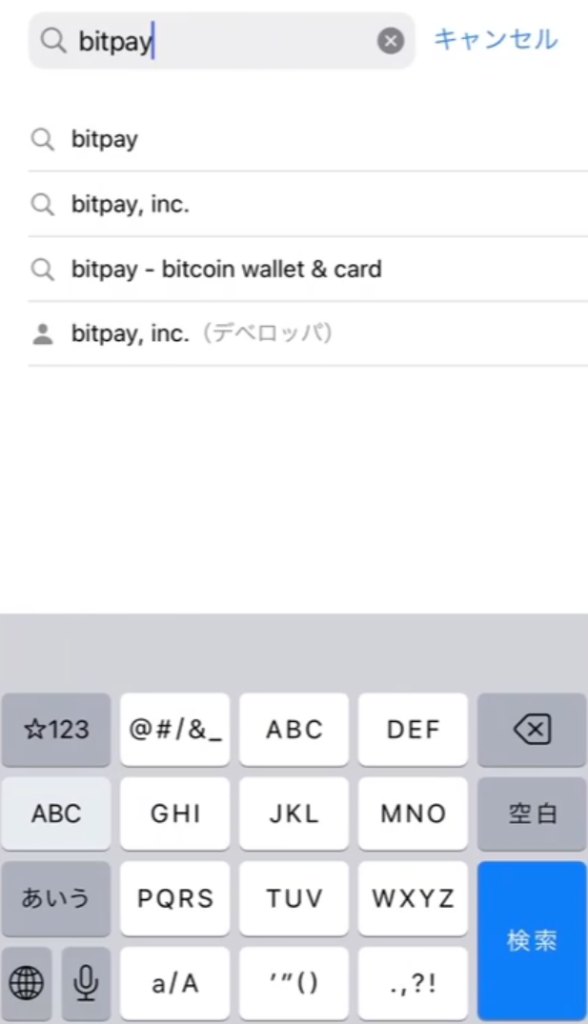
②英語で「bitpay」と検索をします。
検索の上位にアプリが出てくるので、「入手」します。
![](https://nft-labo.tokyo/wp-content/uploads/2022/11/2022-11-24_10h44_43-1-585x1024.png)
![](https://nft-labo.tokyo/wp-content/uploads/2022/11/2022-11-24_10h47_01-1-588x1024.png)
![](https://nft-labo.tokyo/wp-content/uploads/2022/11/2022-11-24_11h42_41.png)
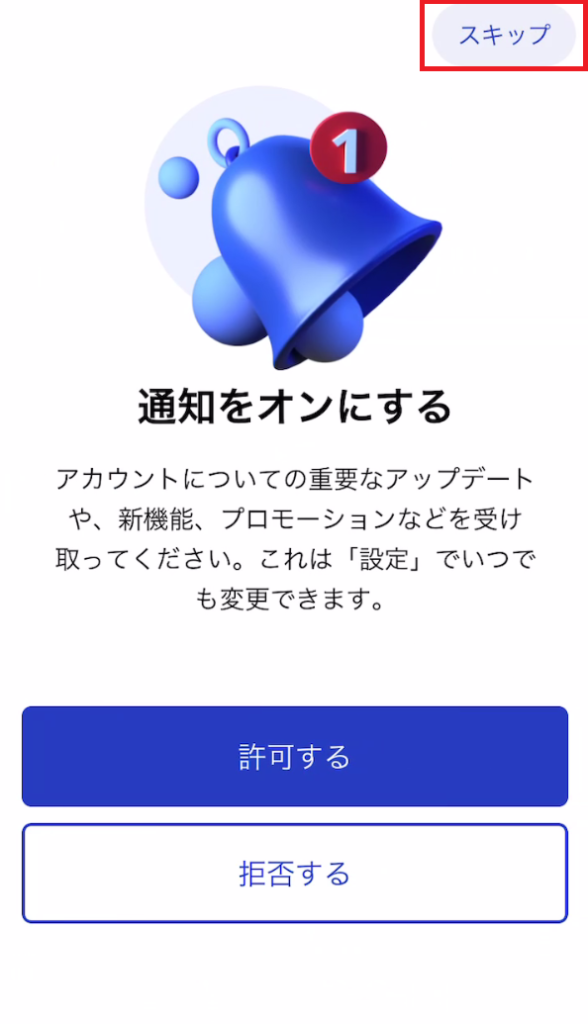
③アプリを開き、初期設定を完了させます。
暗号資産の入出金に関して、メールアドレスの登録なしで使用することができますので、「アカウントなしで続ける」を選択します。
通知の有無を選択するか「スキップ」をすることで次に進むこともできます。
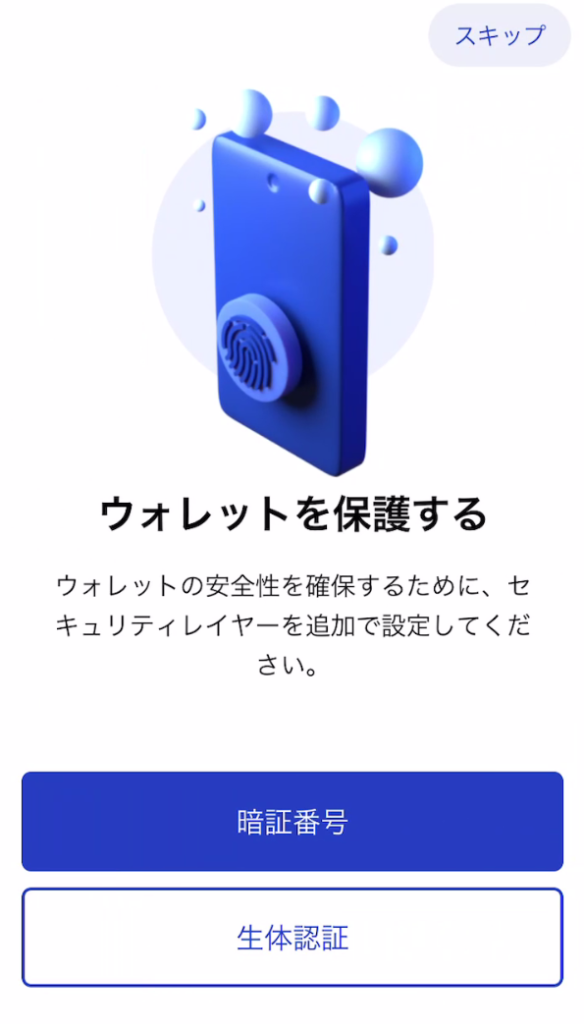
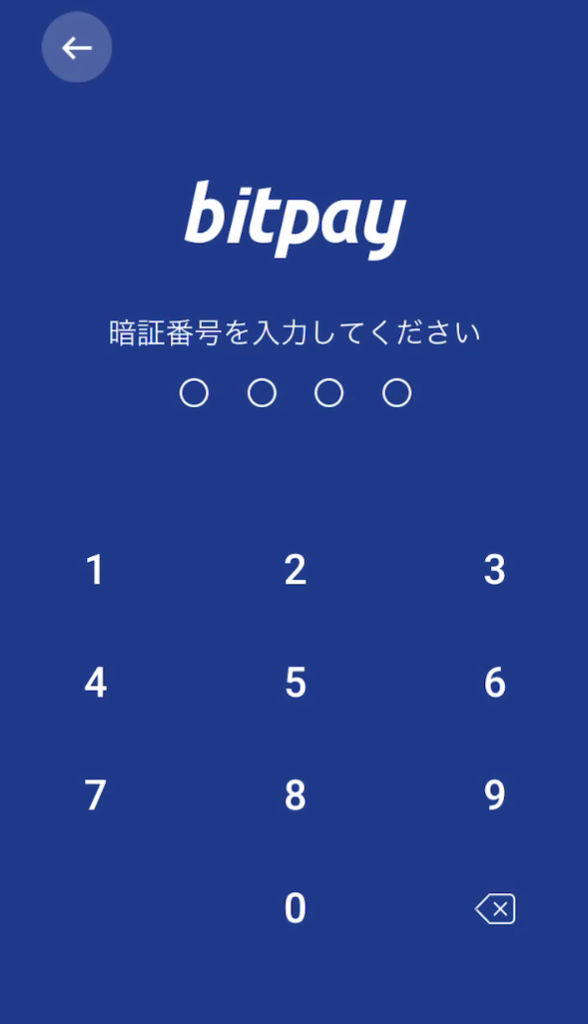
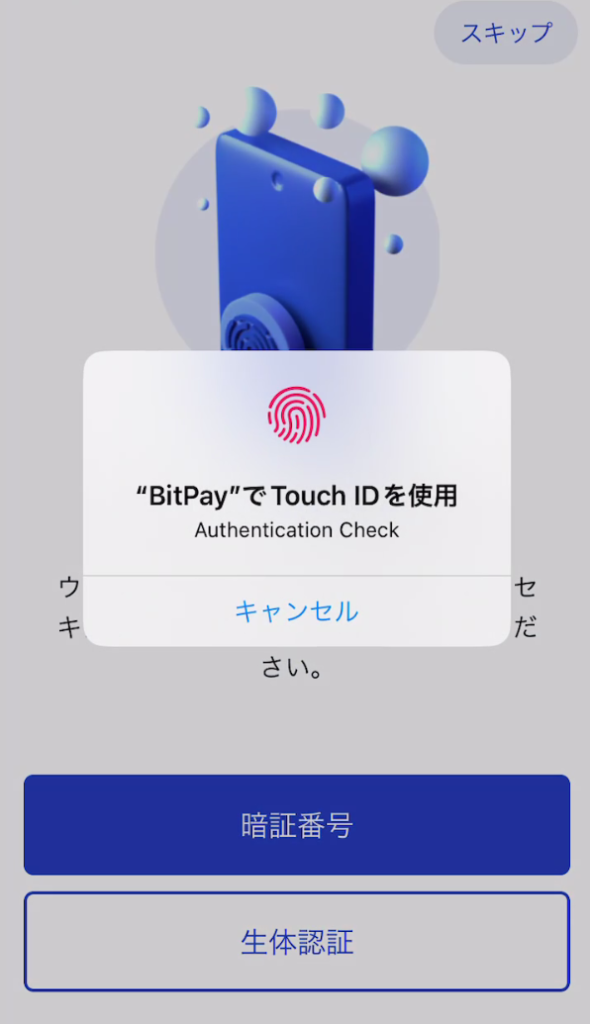
![](https://nft-labo.tokyo/wp-content/uploads/2022/11/2022-11-24_11h03_21-588x1024.png)
![](https://nft-labo.tokyo/wp-content/uploads/2022/11/2022-11-24_11h04_26-588x1024.png)
④ウォレットアプリのパスワード設定
「暗証番号」を選択した場合は4桁を入力します。
「生体認証」を選択した場合、TouchIDの認証画面が表示されます。
こちらも「スキップ」を選択することができますが、セキュリティ面のことを考慮すると、設定しておくことを推奨致します。
![](https://nft-labo.tokyo/wp-content/uploads/2022/11/2022-11-24_11h05_12-1-584x1024.png)
![](https://nft-labo.tokyo/wp-content/uploads/2022/11/2022-11-24_11h05_34-1-588x1024.png)
![](https://nft-labo.tokyo/wp-content/uploads/2022/11/2022-11-24_11h05_50-1-590x1024.png)
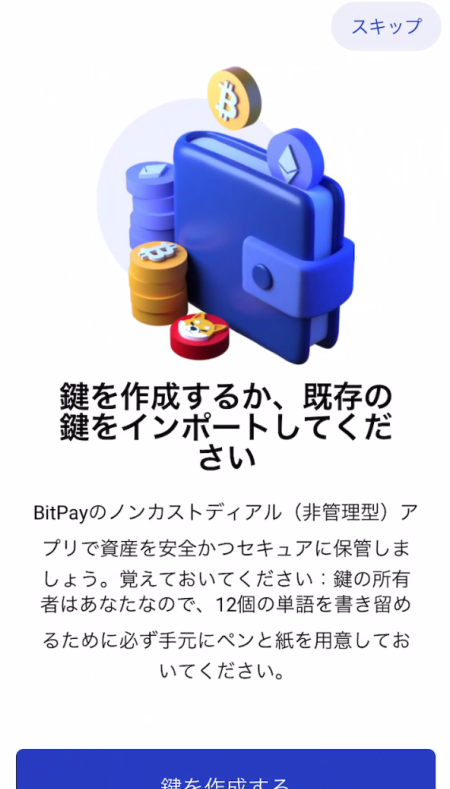
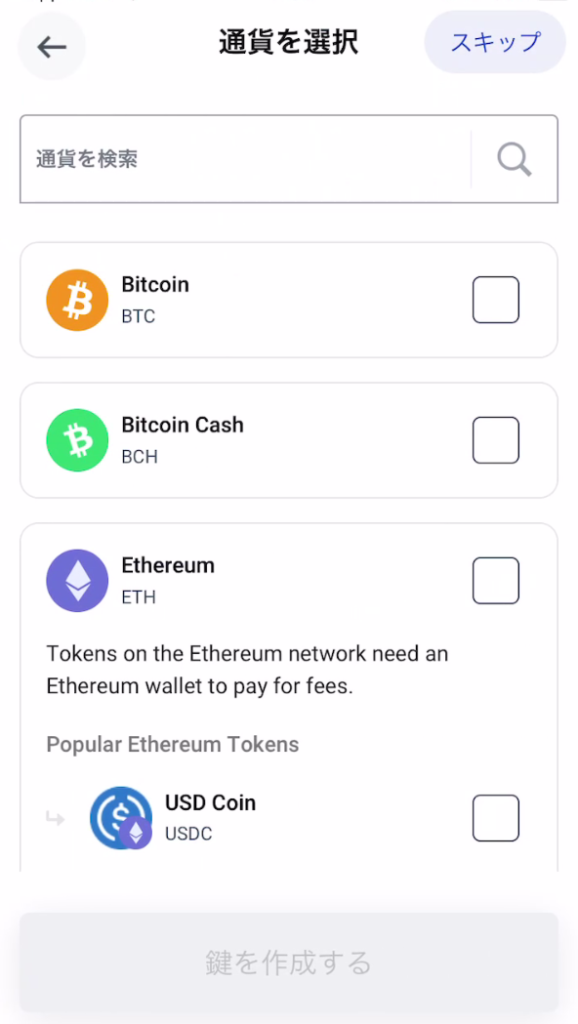
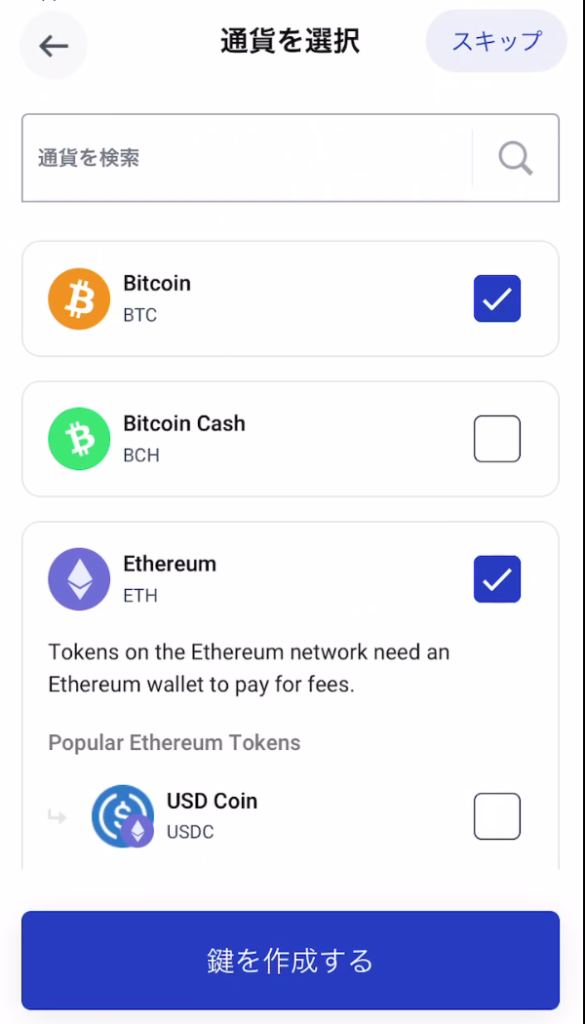
⑤「鍵の作成」を選択し、扱う予定の通貨にチェックを入れます。
![](https://nft-labo.tokyo/wp-content/uploads/2022/11/2022-11-24_12h03_53.png)
![](https://nft-labo.tokyo/wp-content/uploads/2022/11/2022-11-24_11h06_22-1-583x1024.png)
![](https://nft-labo.tokyo/wp-content/uploads/2022/11/2022-11-24_11h06_39-1-578x1024.png)
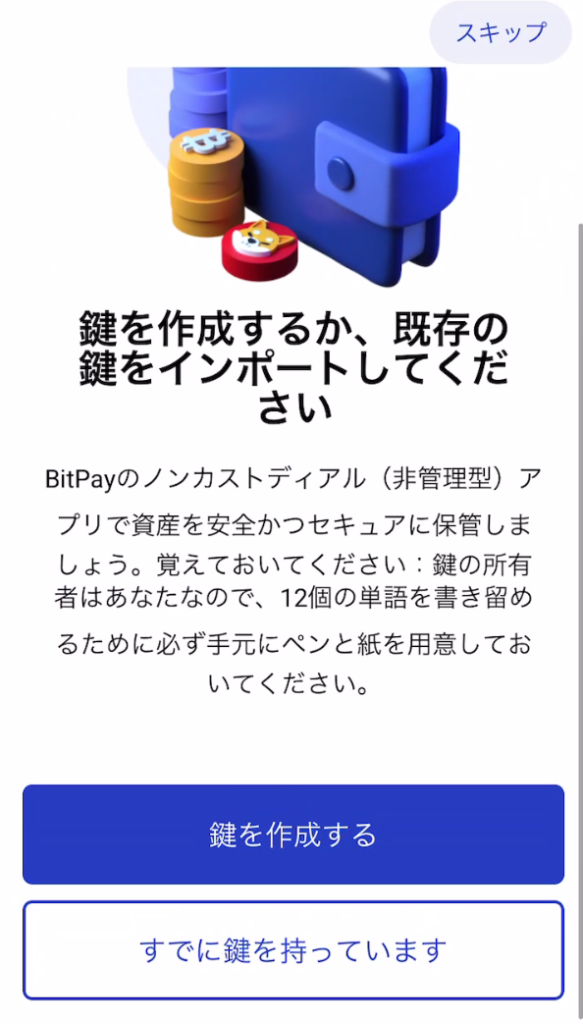
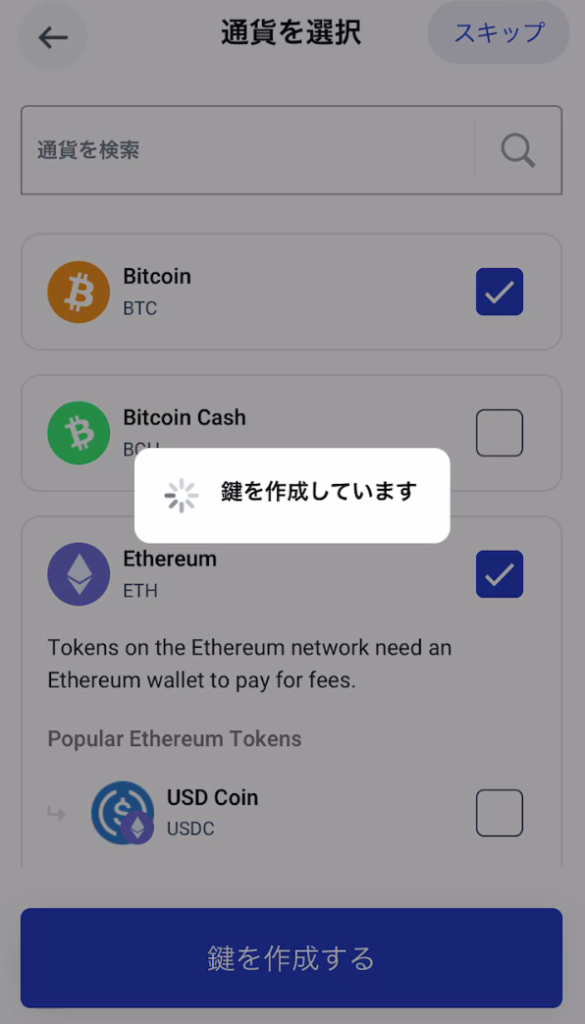
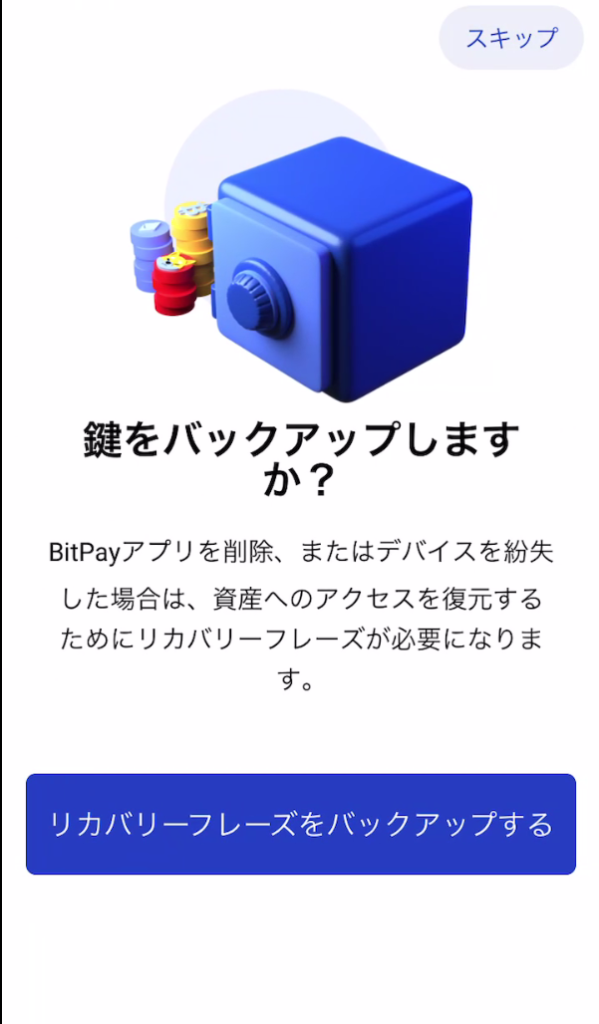
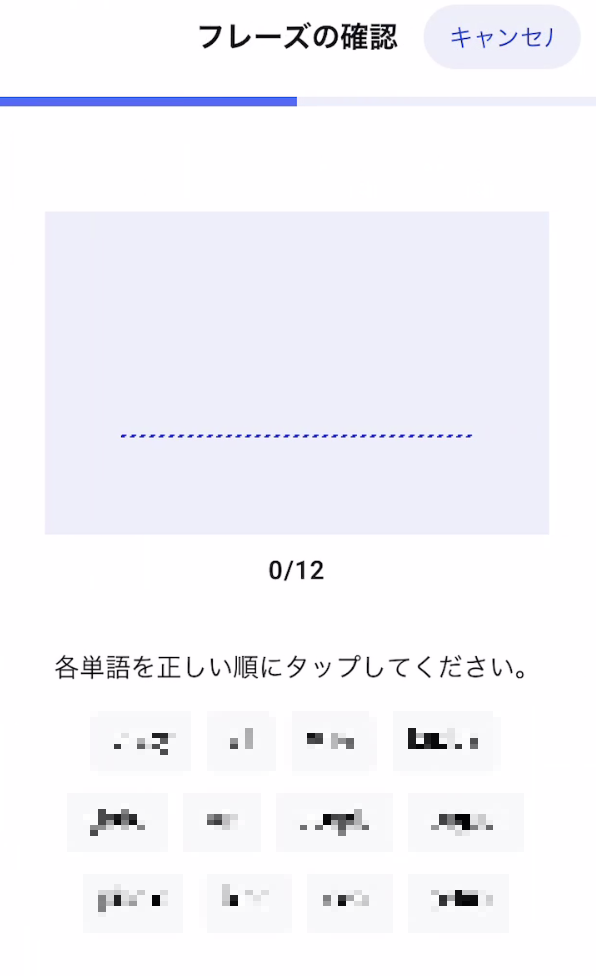
⑥「鍵を作成する」をタップし、「リカバリーフレーズをバックアップする」を選択
※ここでスキップをしてしまうと、万が一携帯やデータを失った際に復元ができなくなってしまうので注意
![](https://nft-labo.tokyo/wp-content/uploads/2022/11/2022-11-24_11h06_50-1-585x1024.png)
![](https://nft-labo.tokyo/wp-content/uploads/2022/11/2022-11-24_11h07_00-585x1024.png)
![](https://nft-labo.tokyo/wp-content/uploads/2022/11/2022-11-24_11h07_09-599x1024.png)
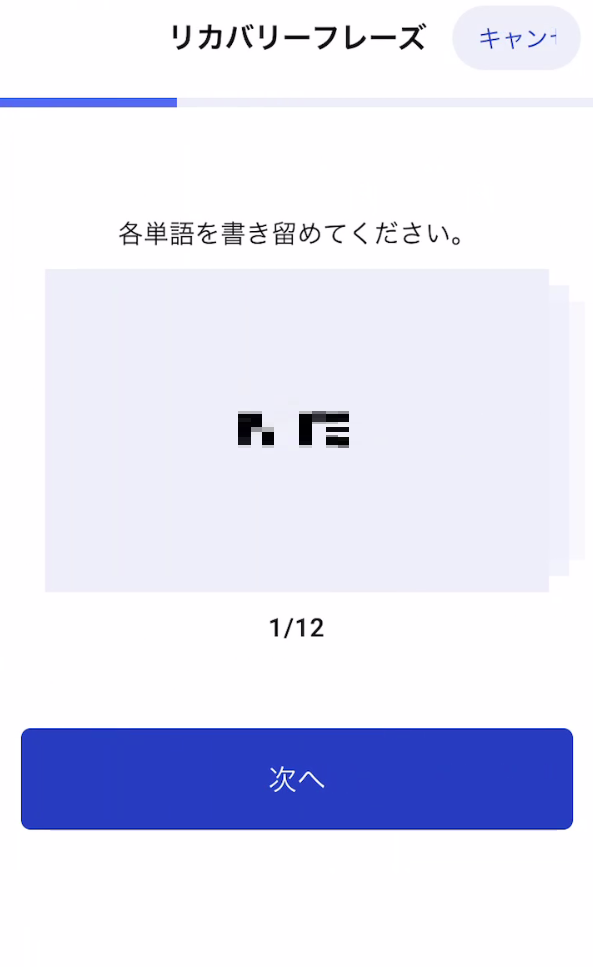
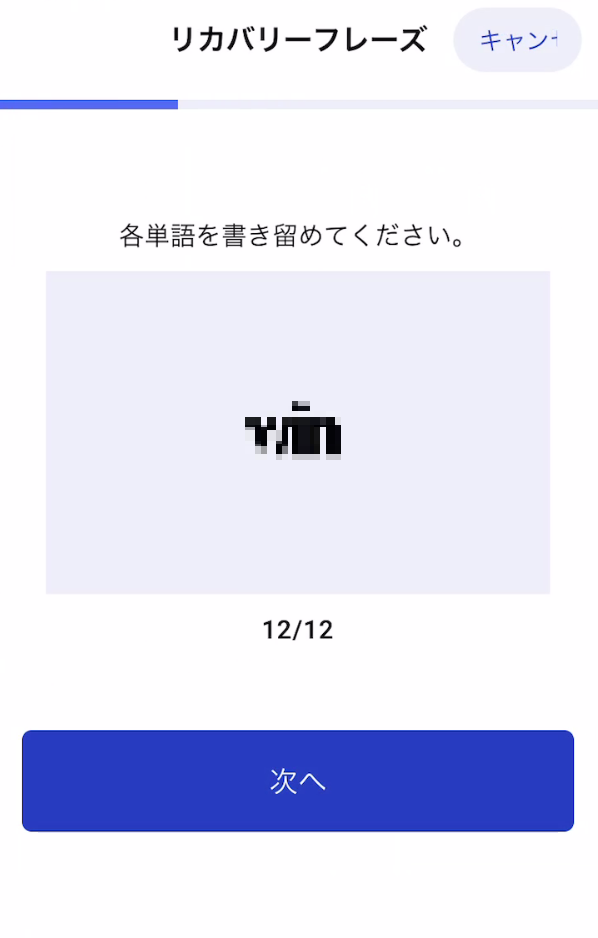
⑦リカバリーフレーズ12個をメモに書き留めます。
12個目の単語にて「次へ」を選択することで、フレーズの確認画面へ移行します。
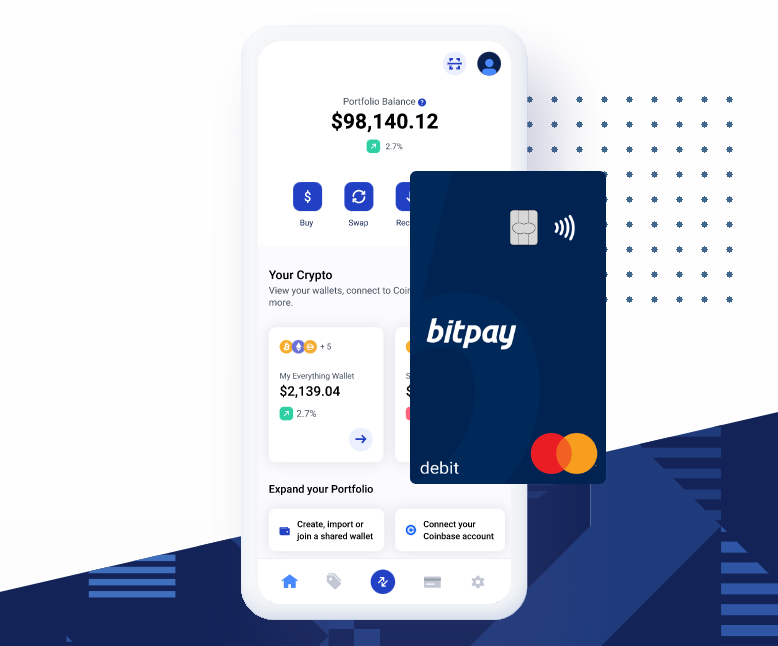
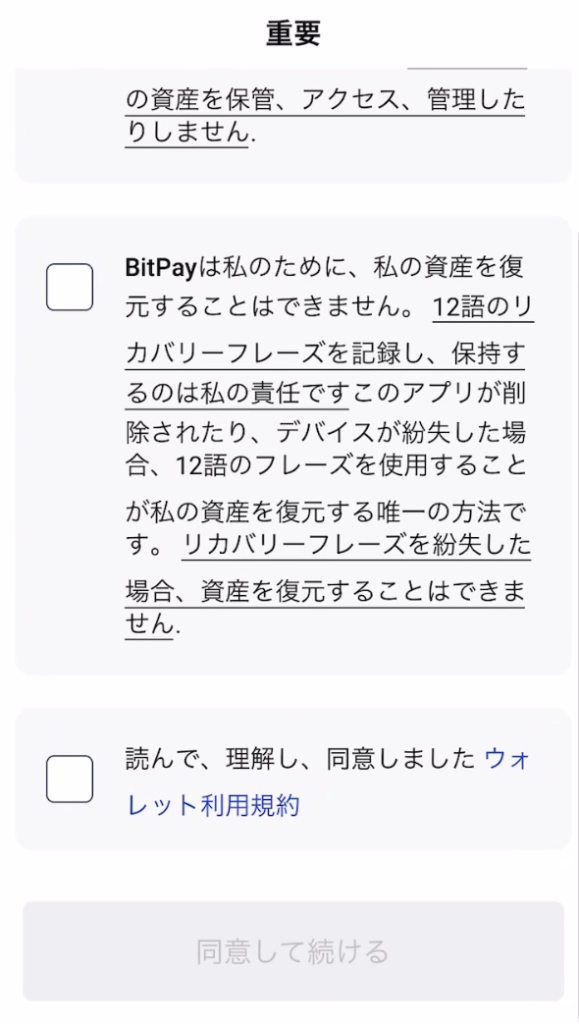
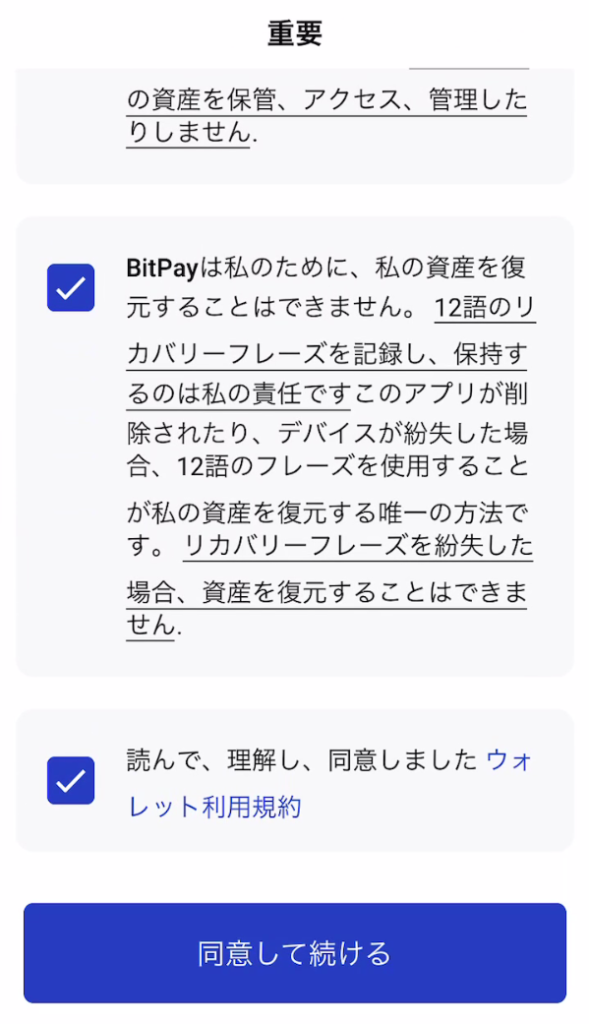
![](https://nft-labo.tokyo/wp-content/uploads/2022/11/2022-11-24_11h07_19-1.png)
![](https://nft-labo.tokyo/wp-content/uploads/2022/11/2022-11-24_11h08_33.png)
![](https://nft-labo.tokyo/wp-content/uploads/2022/11/2022-11-24_11h08_49.png)
⑧ウォレット作成完了!
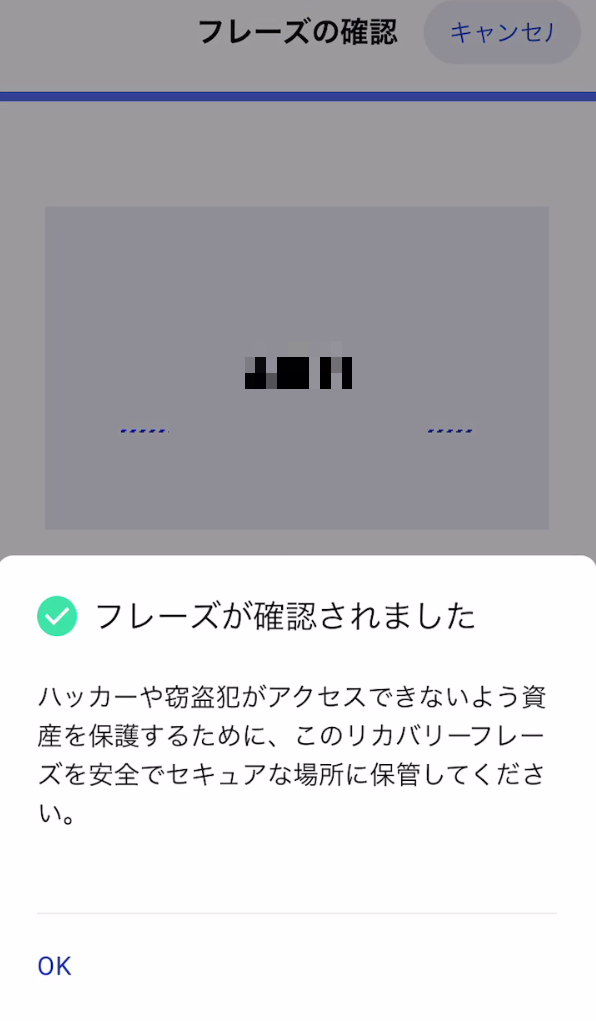
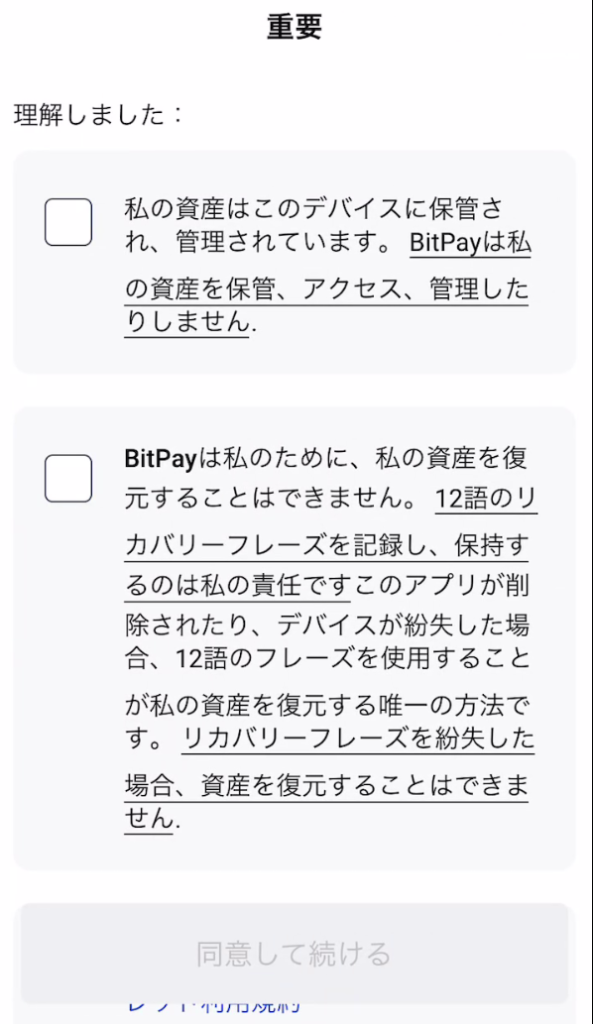
順番通りに選択できると、下記画面に移行しますので、3つのチェックボックスを選択し、「同意して続ける」をタップ
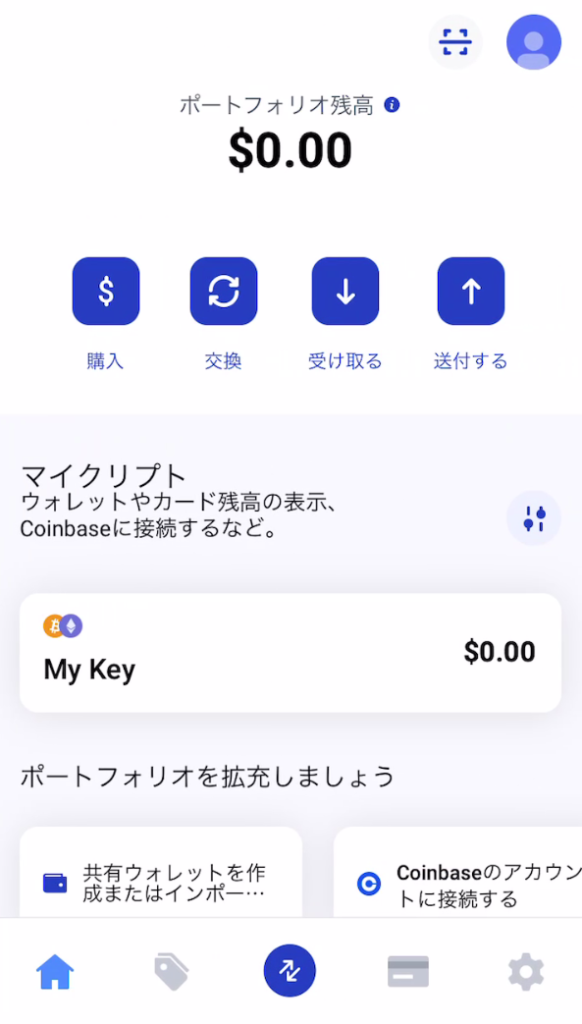
アプリのホーム画面に移行したら作業の完了です💡
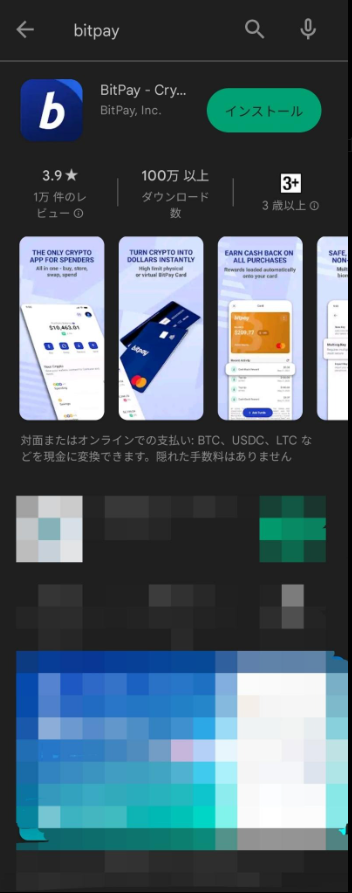
![](https://nft-labo.tokyo/wp-content/uploads/2022/11/2022-11-24_11h12_04.png)
![](https://nft-labo.tokyo/wp-content/uploads/2022/11/2022-11-24_11h12_18-593x1024.png)
![](https://nft-labo.tokyo/wp-content/uploads/2022/11/2022-11-24_11h12_28-579x1024.png)
![](https://nft-labo.tokyo/wp-content/uploads/2022/11/2022-11-24_11h12_40-589x1024.png)
![](https://nft-labo.tokyo/wp-content/uploads/2022/11/2022-11-24_11h12_51-582x1024.png)
※Android版アプリ入手までの手順
「Playストア」アプリ上部の検索から「インストール」をタップすることで入手をすることができます💡
![](https://nft-labo.tokyo/wp-content/uploads/2022/11/2022-11-24_10h23_05.png)
![](https://nft-labo.tokyo/wp-content/uploads/2022/11/2022-11-24_10h23_42.png)
![](https://nft-labo.tokyo/wp-content/uploads/2022/11/2022-11-24_10h24_02.png)
以上です、参考になりましたら幸いです(_ _)